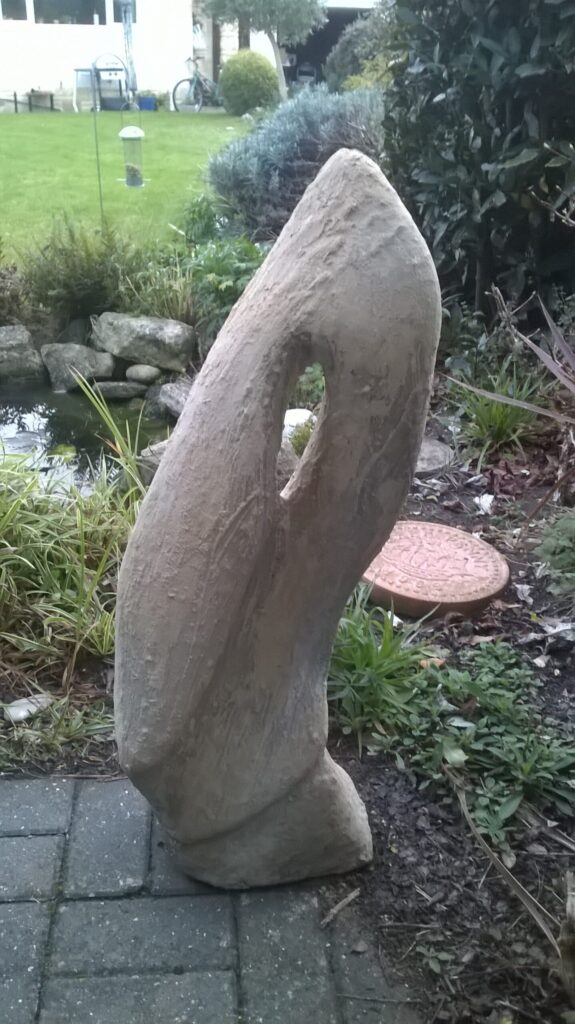
We had an idea to try and make a cast object using polystyrene. We made a cast polystyrene stepping stone for a the garden.
We used a latex mould that we already had available, funny enough. Just happening to be hanging around in a garage.
We took a load of scrap blocks of expanded polystyrene and dissolved it in bucket of acetone. We kept adding the expanded polystyrene until the acetone disappeared and we were left with a blob of polystyrene.
We then took the blob of pliable polystyrene that had the consistency of dough and kneaded it into the latex mould. We then placed it in the garden, loosely covered with a upside down bucket to stop it from getting wet and waited, and waited and waited, for about a month for the polystyrene to harden.
We now have a new stepping stone for the garden made of solid polystyrene.
How to make 3D letters using a Hot Wand Tool and polystyrene.
Creating polystyrene letters with a hot wand tool is a popular method for crafting decorative signage and displays. The process involves using a heated wand tool to cut and shape polystyrene foam sheets into letterforms. Here’s a step-by-step guide to help you:
Materials you will need:
Polystyrene foam sheet
Hot wand tool (also known as a hot wire foam cutter)
Letter templates (printed or drawn on paper)
Utility knife or scissors
Sandpaper (optional)
Safety goggles
Work gloves
Step 1: Prepare your workspace Choose a well-ventilated area with a sturdy work surface. Lay down a protective covering like a craft mat or newspaper to catch any foam debris. Ensure you have access to a power outlet for the hot wand tool.
Step 2: Design and prepare letter templates Print or draw the letters you want to create in the desired size on a piece of paper. Cut out the letters using scissors or a utility knife. Ensure the templates are accurate and neat.
Step 3: Prepare the polystyrene foam sheet Measure and mark the desired thickness and height of your letters on the foam sheet using a ruler and pencil. Use a utility knife or scissors to cut the foam sheet to the appropriate size. Make sure the foam sheet is flat and free from any creases or wrinkles.
Step 4: Heat up the hot wand tool Plug in the hot wand tool and let it heat up according to the manufacturer’s instructions. Ensure you wear safety goggles and work gloves throughout the process to protect yourself from hot foam and debris.
Step 5: Shape the foam using the hot wand tool Place the letter templates on top of the foam sheet and secure them with tape or pins. Turn on the hot wand tool and wait for it to reach the optimal cutting temperature. Slowly and steadily guide the hot wand tool along the outlines of the letter templates, pressing gently but firmly to cut through the foam sheet. Follow the templates precisely to achieve accurate letterforms.
Note: The hot wand tool’s heated wire will melt through the foam, so avoid excessive pressure that might distort the shape or create rough edges. Take your time and work carefully.
Step 6: Finishing touches After cutting out the letters, inspect them for any rough edges or imperfections. You can gently sand the edges with sandpaper to smooth them out if necessary. Be cautious not to apply too much pressure or heat to prevent melting or warping the foam.
Step 7: Clean up and display Once you’re satisfied with the shape and finish of your polystyrene letters, clean up the workspace by removing any foam debris. Your letters are now ready to be displayed. They can be painted, decorated, or attached to a backing board as per your design preferences.
Remember to always prioritize safety when working with hot tools and handle polystyrene foam carefully to avoid burns or injury.
The ideal DPI (dots per inch) for digital printing graphics can vary depending on the specific printing method, the size of the printed piece, and the viewing distance. Generally, higher DPI values result in better print quality, but they also increase file size and processing requirements. Here are some guidelines for common printing scenarios:
Commercial Offset Printing: For high-quality offset printing, a DPI of 300 is often considered standard. This resolution ensures crisp and clear prints for most graphics and images.
Digital Inkjet Printing: Inkjet printers have advanced significantly and can produce good results at lower DPIs. A range of 150 to 300 DPI is typically sufficient for most inkjet printing applications.
Large Format Printing: For large banners, posters, or other large-scale prints that are viewed from a distance, you can get away with lower DPI settings. Often, a DPI of 100 to 150 is sufficient.
Desktop Printers: For office or home desktop printers, using 300 DPI is a safe bet for most print jobs.
Remember that the viewing distance plays a crucial role. If the printed piece will be viewed up close, such as brochures or magazines, a higher DPI will ensure sharper details. However, if the printed piece will be viewed from a distance, like billboards, you can use a lower DPI.
Additionally, consider using the appropriate color profile (CMYK for printing) and saving the graphics in a format suitable for printing, such as TIFF or PDF with embedded fonts and images.
Always check with your printing provider to see if they have specific requirements or recommendations for DPI settings to ensure the best results for your particular project.
To create a vector graphic in Adobe Illustrator and export it as an EPS file for CorelDRAW, follow these steps:
Step 1: Create your vector graphic in Adobe Illustrator
Open Adobe Illustrator and create a new document by going to File > New.
Use the various tools in Illustrator to create your vector artwork. Draw shapes, use the Pen tool, add text, and apply colors as desired. Remember that all the elements in your artwork should be vector-based to ensure scalability.
Step 2: Organize your artwork (optional but recommended) Before exporting, it’s a good idea to organize your artwork into layers and groups to keep things neat and easy to work with in CorelDRAW.
Step 3: Save your Illustrator file Once you are satisfied with your vector graphic, save your Illustrator file (.ai) by going to File > Save As. Choose a location on your computer and give the file a name.
Step 4: Export as EPS for CorelDRAW
With your Illustrator file open, go to File > Export > Export As…
In the “Save As” dialog box, choose “Illustrator EPS” from the “Save as type” dropdown menu.
Choose a location to save the EPS file and give it a name.
In the EPS Options dialog box, set the settings as follows:
Preview: Choose “TIFF (8-bit Color)” or “TIFF (Monochrome)” as the preview format. This will allow CorelDRAW to show a preview of the EPS file.
Encoding: Choose “Binary” for the encoding method.
Include: Make sure “Include Document Thumbnails” is checked to provide a thumbnail preview for CorelDRAW.
Use Artboards: If you have multiple artboards in your Illustrator file and you want to preserve them as separate pages in CorelDRAW, check this option.
Click “OK” to save the EPS file.
Now, you have exported your vector graphic as an EPS file from Adobe Illustrator, and it’s ready to be imported into CorelDRAW.
Note: When working with different software applications like Adobe Illustrator and CorelDRAW, it’s essential to ensure that both applications are using the same color profiles to maintain color accuracy across platforms. Additionally, if your vector graphic contains any custom fonts, make sure to convert them to outlines before exporting to EPS to avoid font-related issues in CorelDRAW.
Vector graphic artwork refers to digital art created using vector graphics software. Unlike raster graphics (also known as bitmap graphics), which are composed of pixels, vector graphics are composed of mathematical equations and geometric shapes. This means that vector graphics can be resized and scaled without losing image quality, making them highly versatile and suitable for various applications.
Some characteristics of vector graphic artwork include:
Scalability: Vector graphics can be scaled up or down without any loss of quality. This makes them ideal for creating images that need to be used in different sizes, such as logos, icons, and illustrations.
Resolution independence: Since vector graphics are not based on fixed pixels, they can be printed or displayed at any resolution, ensuring a crisp and clear output.
Editable and non-destructive: Vector graphics are constructed using points, lines, and curves, and each element can be edited individually. This allows for easy modification of shapes, colors, and other attributes without losing the original quality.
Smaller file sizes: Vector files are typically smaller in size compared to raster graphics because they only store mathematical instructions for rendering the image.
Limitations on complex details: While vector graphics are excellent for creating clean and simple shapes, they may not be suitable for highly detailed and photo-realistic images, which are better represented using raster graphics.
Popular software used for creating vector graphic artwork includes Adobe Illustrator, CorelDRAW, Inkscape, and Affinity Designer. Vector graphics are commonly used in logo design, typography, technical illustrations, infographics, and other design projects where scalability and precision are essential.
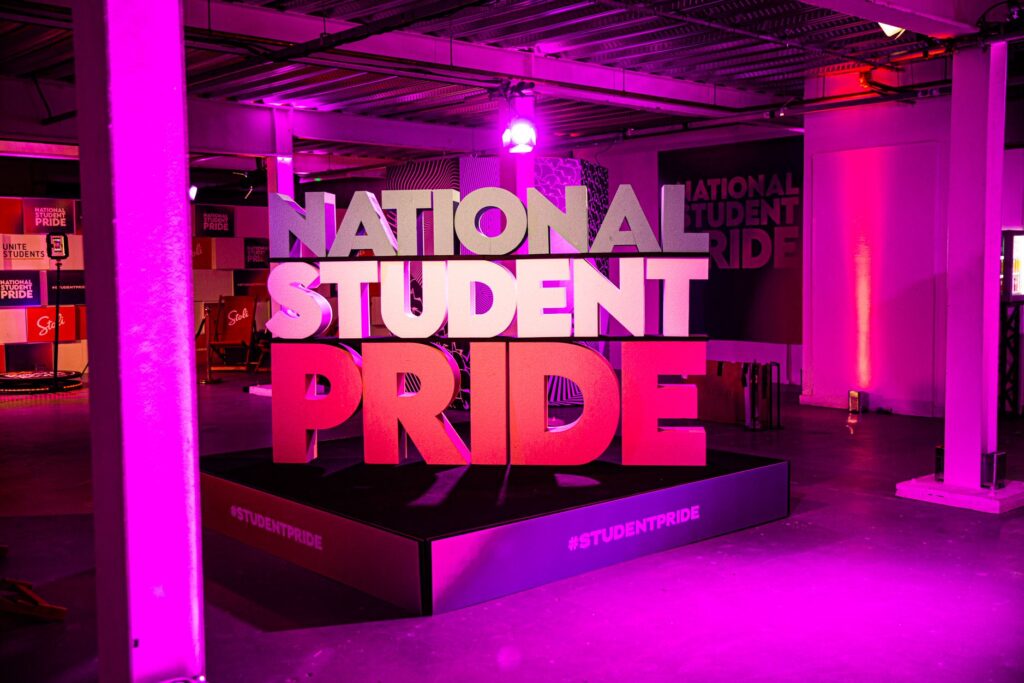
As of my last update in September 2021, National Student Pride (NSP) is an annual event that takes place in the United Kingdom, specifically designed for LGBTQ+ (Lesbian, Gay, Bisexual, Transgender, and Queer/Questioning) students. The event aims to create a supportive and inclusive environment for LGBTQ+ students and to celebrate their identities.
National Student Pride typically includes various activities and programs, such as workshops, panel discussions, social events, and performances, all centered around LGBTQ+ issues and topics relevant to students. The event provides an opportunity for students to network, share experiences, and gain valuable insights from prominent LGBTQ+ figures and activists.
The focus of National Student Pride is not only on socializing and celebrating but also on addressing serious issues faced by LGBTQ+ students, such as discrimination, mental health challenges, and inclusivity on college and university campuses.
Keep in mind that events and organizations can evolve or change over time, so it’s possible that there have been developments or updates regarding National Student Pride since my last knowledge update in September 2021. For the most current information, I recommend checking official websites or reputable news sources.
Creating styrofoam letters using a hot wand tool and a card template can be a fun and creative craft project. Here’s a step-by-step guide to help you get started:
Materials you’ll need:
Styrofoam sheet or block
Hot wand tool (also known as hot wire foam cutter)
Cardstock or thick cardboard to create the template
Pencil
Ruler
Masking tape
Cutting mat or surface
Step-by-step instructions:
Prepare your design: Decide on the letters you want to create and sketch them on the cardstock or thick cardboard. Use a pencil and ruler to draw the letters, making sure they are the desired size and font style. You can print out fonts from your computer and trace them onto the cardstock if you prefer.
Cut out the template: Use scissors or a craft knife to carefully cut out the letters from the cardstock. These templates will serve as a guide for cutting the styrofoam.
Secure the templates: Place the cardstock templates on top of the styrofoam sheet or block, positioning them where you want the letters to be. Use masking tape to secure the templates to the styrofoam, ensuring they don’t move during the cutting process.
Heat up the hot wand tool: Turn on your hot wand tool and allow it to heat up according to the manufacturer’s instructions. The hot wand will cut through the styrofoam cleanly, so make sure to handle it with care to avoid burns.
Cut the letters: Once the hot wand tool is hot and ready, carefully and slowly trace around the edges of the cardstock templates with the hot wand. The heat will melt through the styrofoam, allowing you to cut the letters smoothly. Keep the wand perpendicular to the styrofoam surface to get clean cuts.
Remove the templates: After cutting out all the letters, gently remove the masking tape and lift off the cardstock templates.
Refine the edges: If needed, use the hot wand tool to smooth and refine any rough edges on the letters.
Personalize and decorate (optional): You can leave the styrofoam letters as they are or paint them with acrylic paints to add color and personality to your project. You can also add other decorative elements like glitter, beads, or fabric to make the letters stand out.
Remember to work in a well-ventilated area, and be cautious while handling the hot wand tool to avoid any accidents or injuries. Styrofoam can release harmful fumes when cut with a hot tool, so ensure proper ventilation or wear a mask if necessary.
With this guide, you should be able to create beautiful styrofoam letters using a hot wand tool and card templates. Have fun with your project!
How to make polystyrene letters using a HotWand Tool
How to cut a 3D letter ‘A’, expanded polystyrene letters using a hot wand tool
Creating polystyrene letters with a hot wand tool is a popular method for crafting decorative signage and displays. The process involves using a heated wand tool to cut and shape polystyrene foam sheets into letterforms. Here’s a step-by-step guide to help you:
Materials you will need:
Polystyrene foam sheet
Hot wand tool (also known as a hot wire foam cutter)
Letter templates (printed or drawn on paper)
Utility knife or scissors
Sandpaper (optional)
Safety goggles
Work gloves
Step 1: Prepare your workspace Choose a well-ventilated area with a sturdy work surface. Lay down a protective covering like a craft mat or newspaper to catch any foam debris. Ensure you have access to a power outlet for the hot wand tool.
Step 2: Design and prepare letter templates Print or draw the letters you want to create in the desired size on a piece of paper. Cut out the letters using scissors or a utility knife. Ensure the templates are accurate and neat.
Step 3: Prepare the polystyrene foam sheet Measure and mark the desired thickness and height of your letters on the foam sheet using a ruler and pencil. Use a utility knife or scissors to cut the foam sheet to the appropriate size. Make sure the foam sheet is flat and free from any creases or wrinkles.
Step 4: Heat up the hot wand tool Plug in the hot wand tool and let it heat up according to the manufacturer’s instructions. Ensure you wear safety goggles and work gloves throughout the process to protect yourself from hot foam and debris.
Step 5: Shape the foam using the hot wand tool Place the letter templates on top of the foam sheet and secure them with tape or pins. Turn on the hot wand tool and wait for it to reach the optimal cutting temperature. Slowly and steadily guide the hot wand tool along the outlines of the letter templates, pressing gently but firmly to cut through the foam sheet. Follow the templates precisely to achieve accurate letterforms.
Note: The hot wand tool’s heated wire will melt through the foam, so avoid excessive pressure that might distort the shape or create rough edges. Take your time and work carefully.
Step 6: Finishing touches After cutting out the letters, inspect them for any rough edges or imperfections. You can gently sand the edges with sandpaper to smooth them out if necessary. Be cautious not to apply too much pressure or heat to prevent melting or warping the foam.
Step 7: Clean up and display Once you’re satisfied with the shape and finish of your polystyrene letters, clean up the workspace by removing any foam debris. Your letters are now ready to be displayed. They can be painted, decorated, or attached to a backing board as per your design preferences.
Remember to always prioritize safety when working with hot tools and handle polystyrene foam carefully to avoid burns or injury.